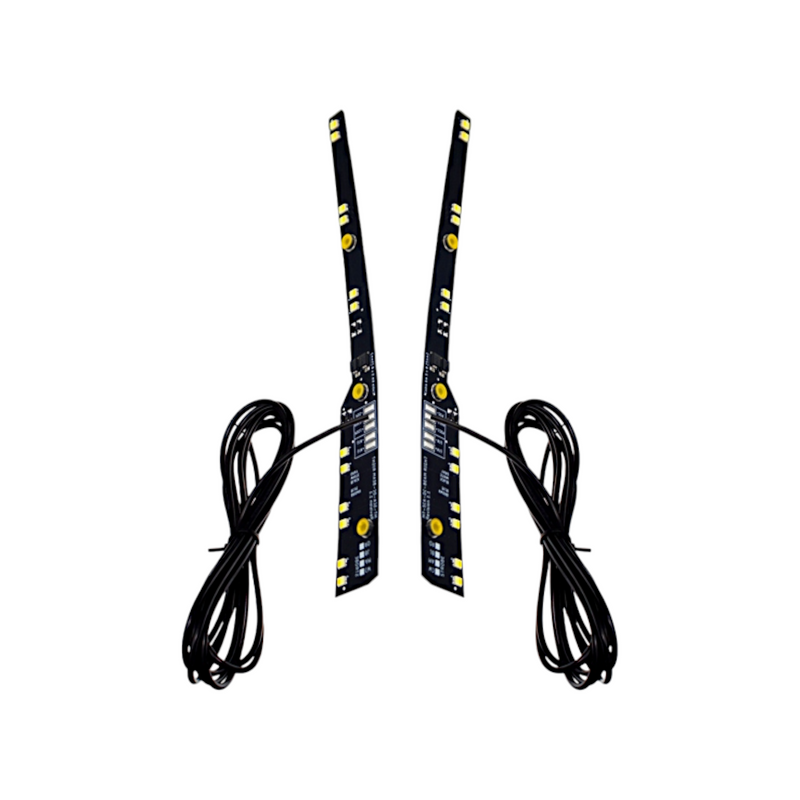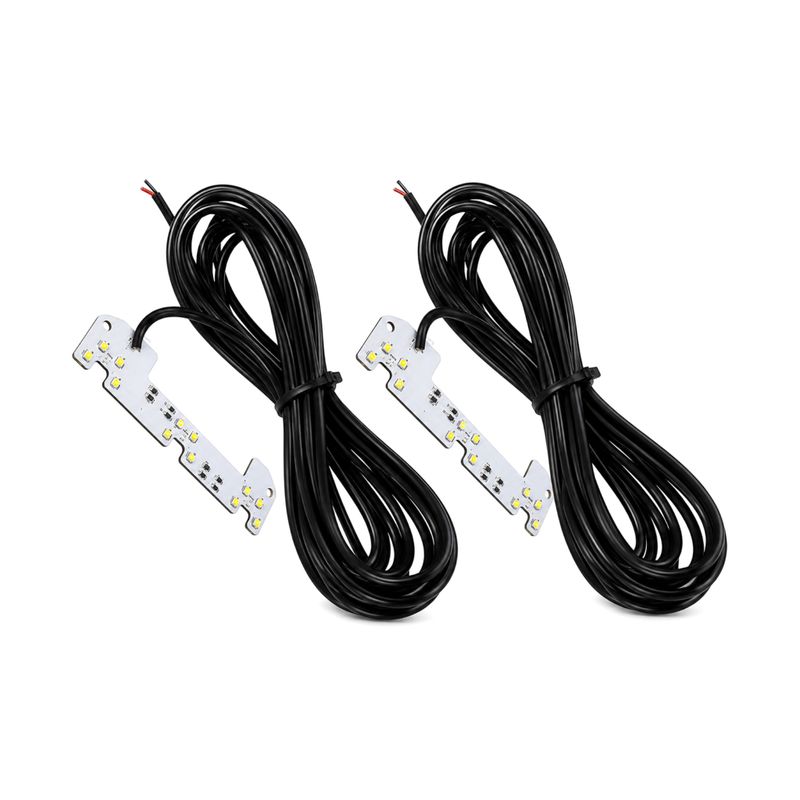
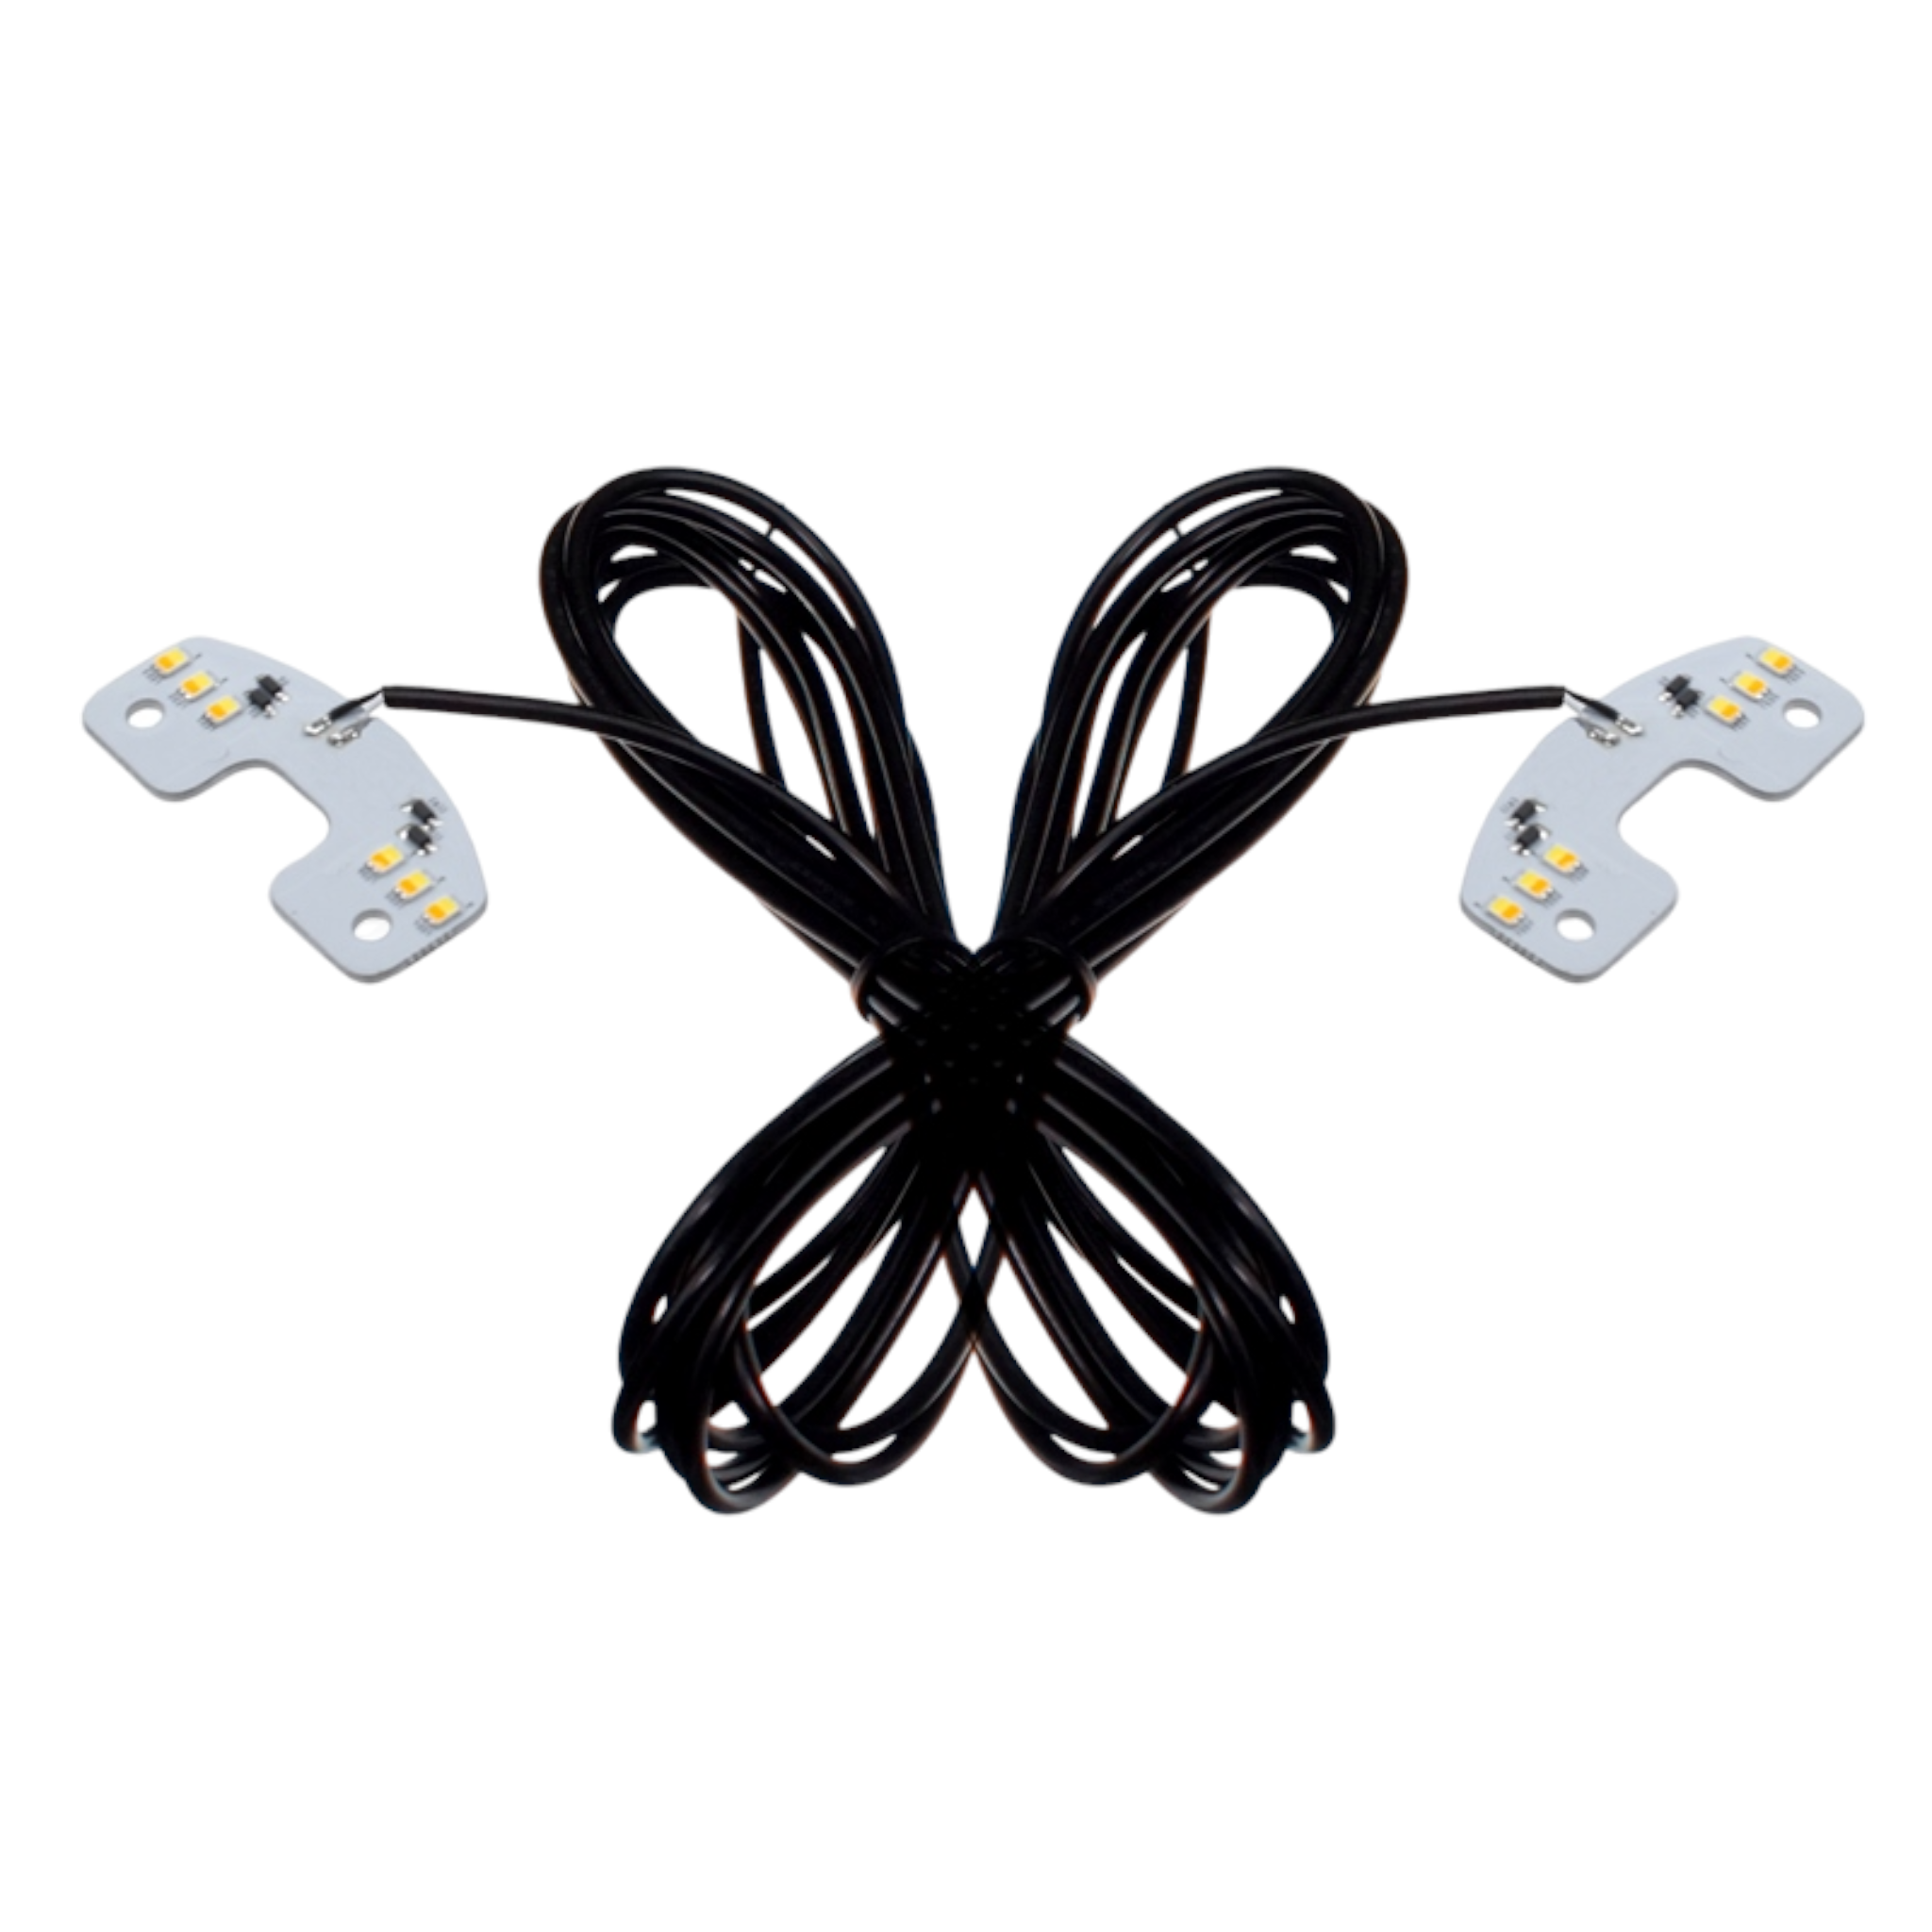

Reflector Light for Grille High Beam Scania NextGen 2023+
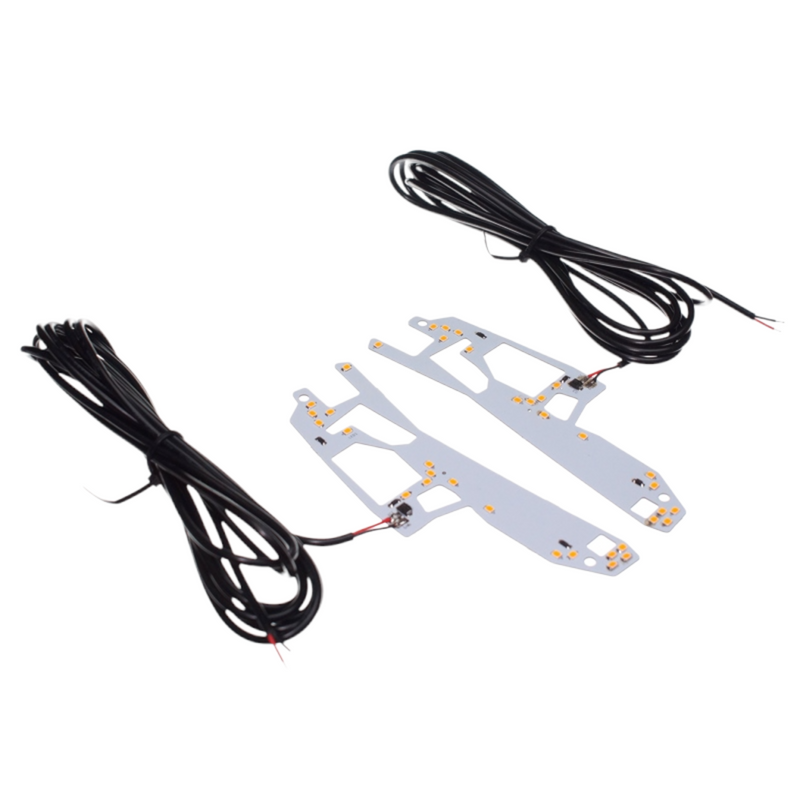
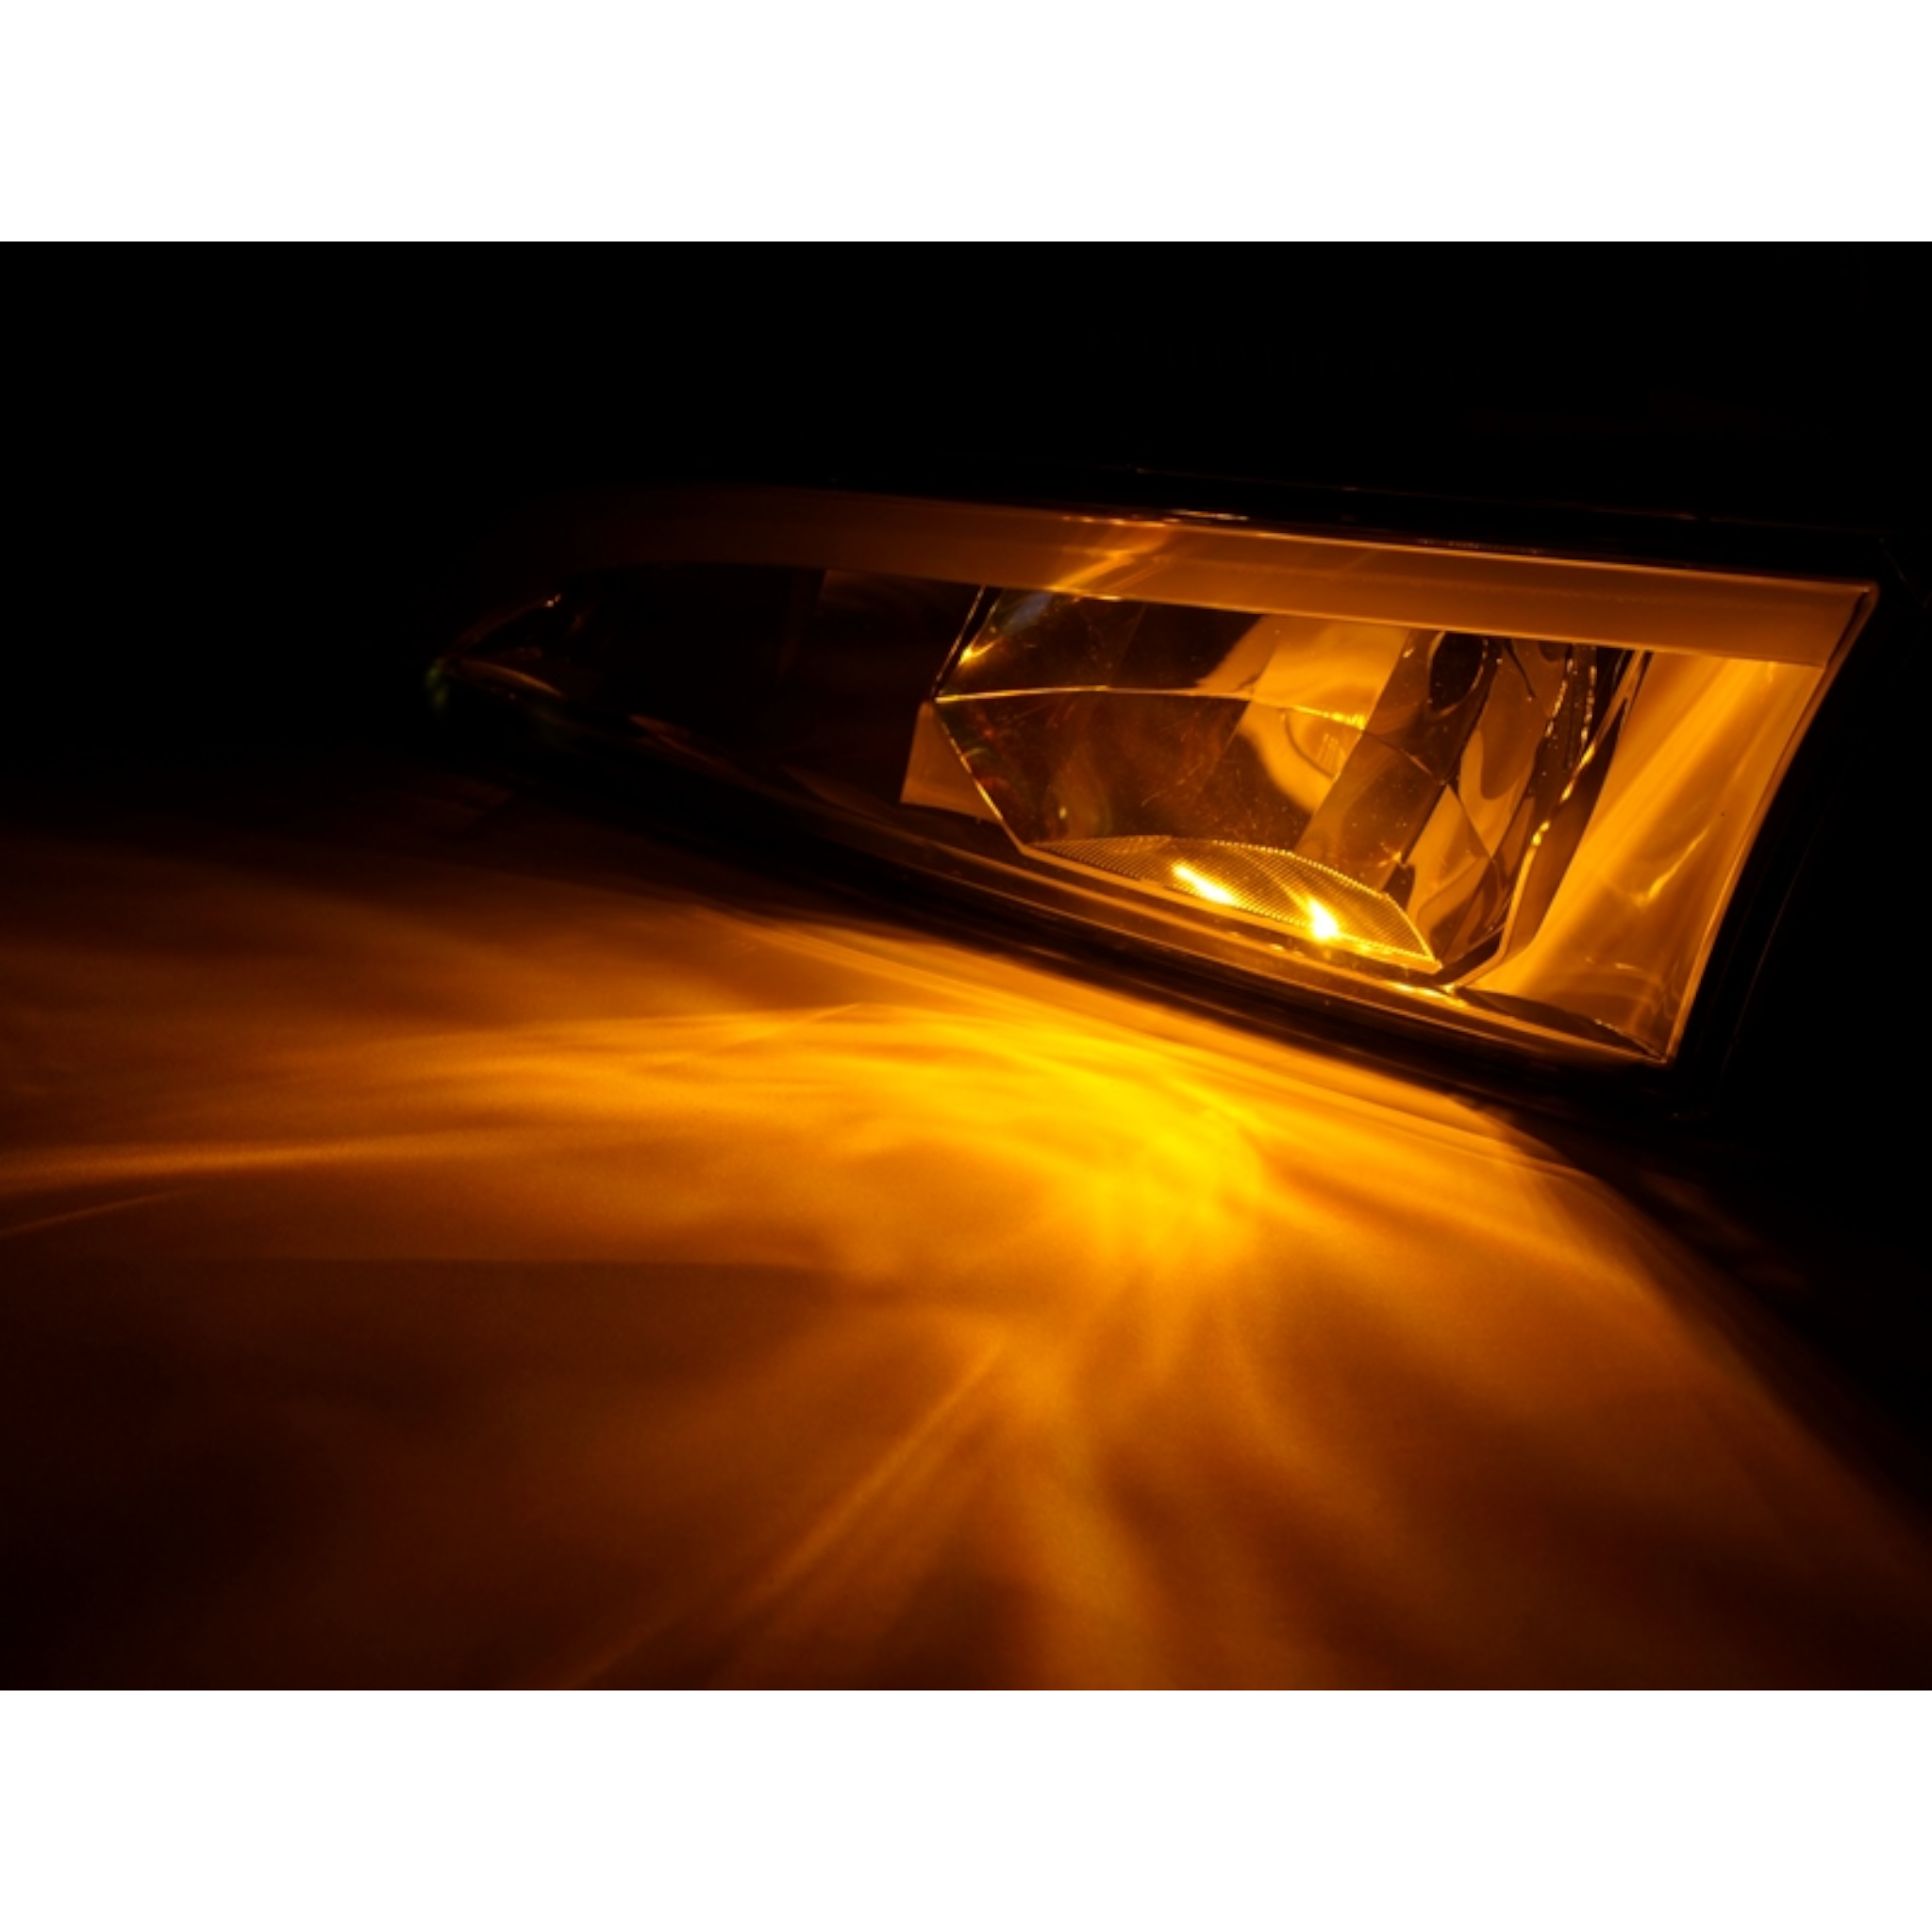
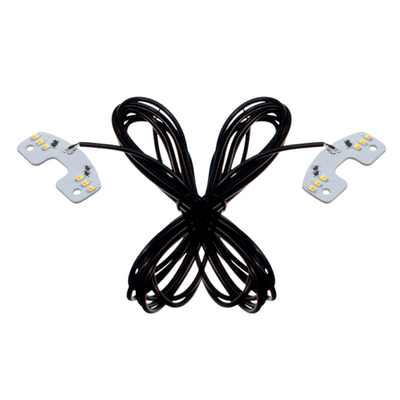
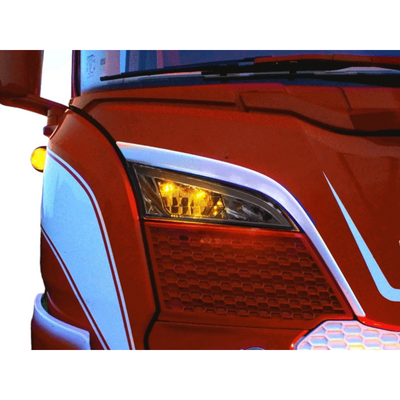
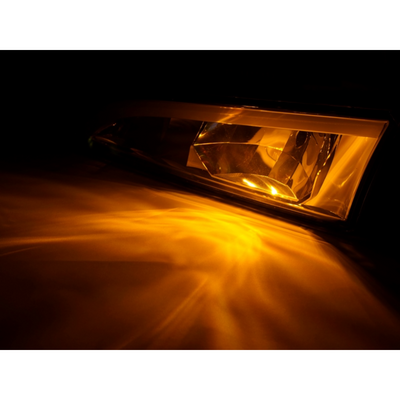
LED light plates designed to create a stylish light in the high beam reflector in the grille on Scania Next Generation from model year 2023 onwards. This kit includes 2 light plates, 1 for each side.
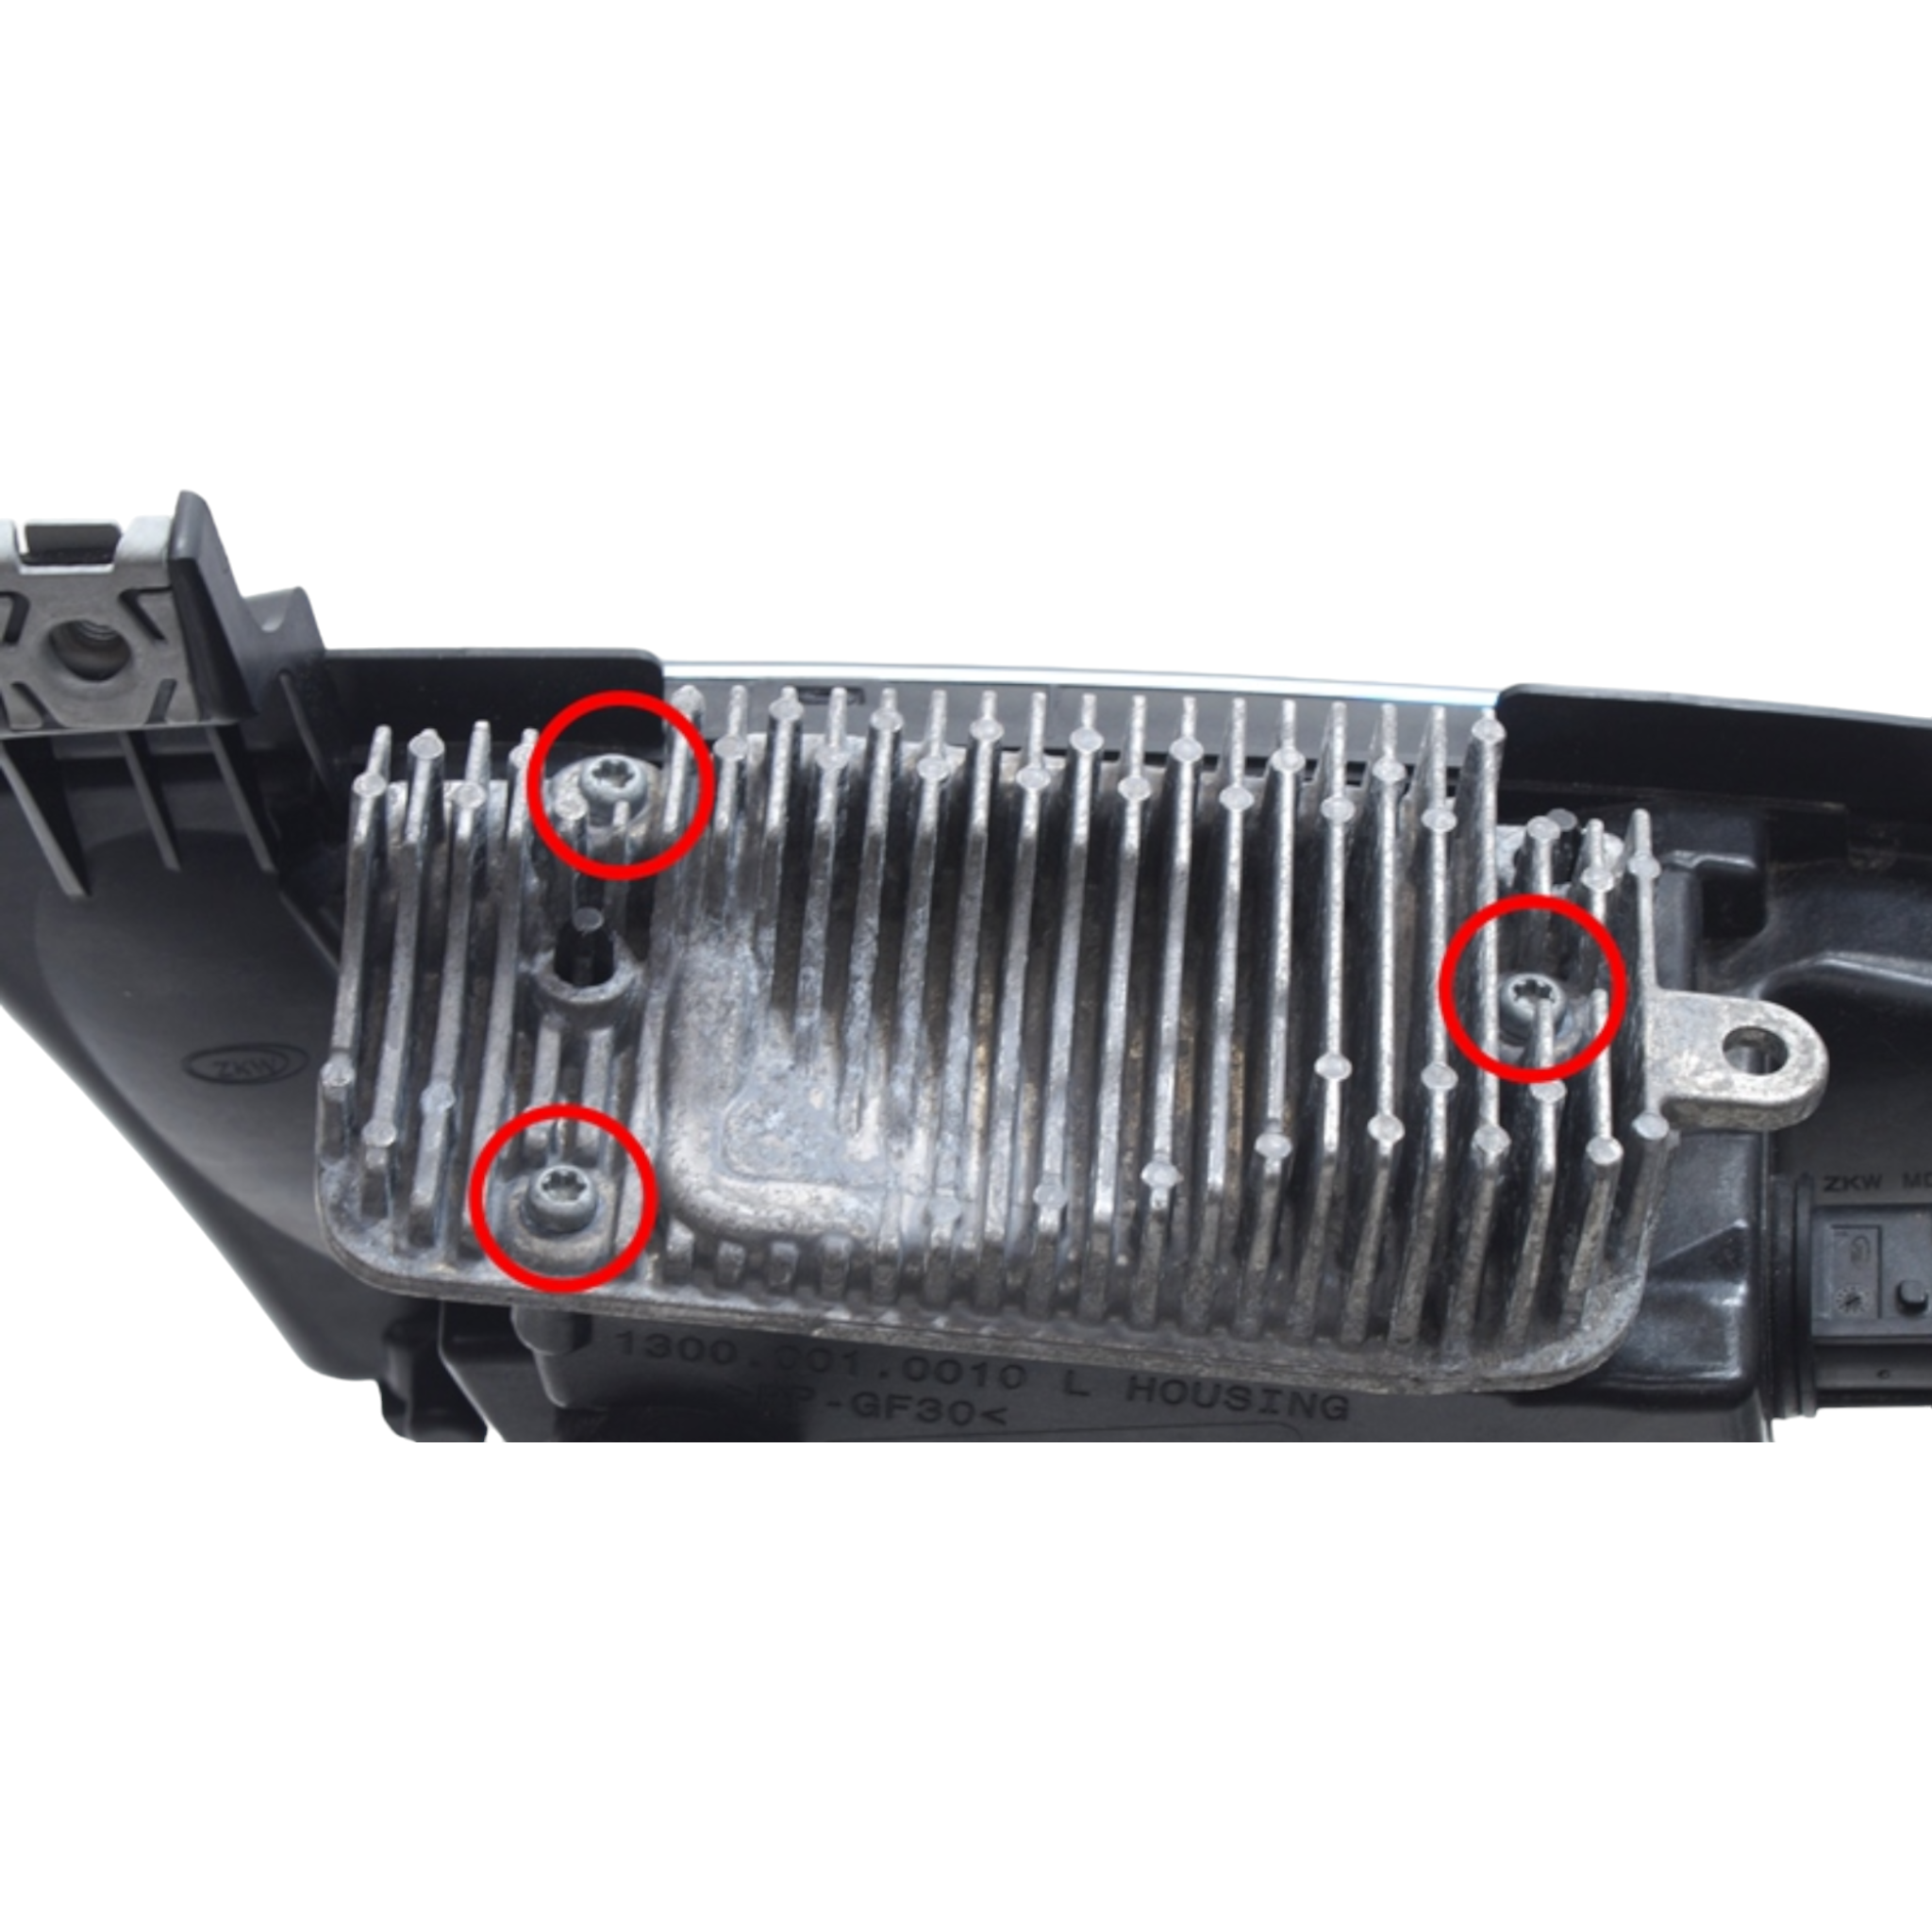
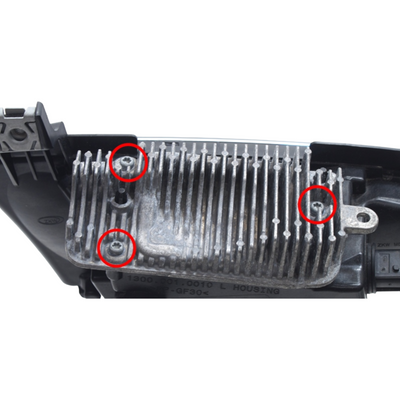
Compare your high beam with the product images. If the light source is secured with 3 screws on the top, you have the 2023+ model. If it is only glued, you have the 2016–2022 model.
Available in 4 different colours and 3 different versions: single-colour, dual-colour, or dual-colour with strobe light.
Single-colour – Xenon White / Warm White / Amber / Yellow
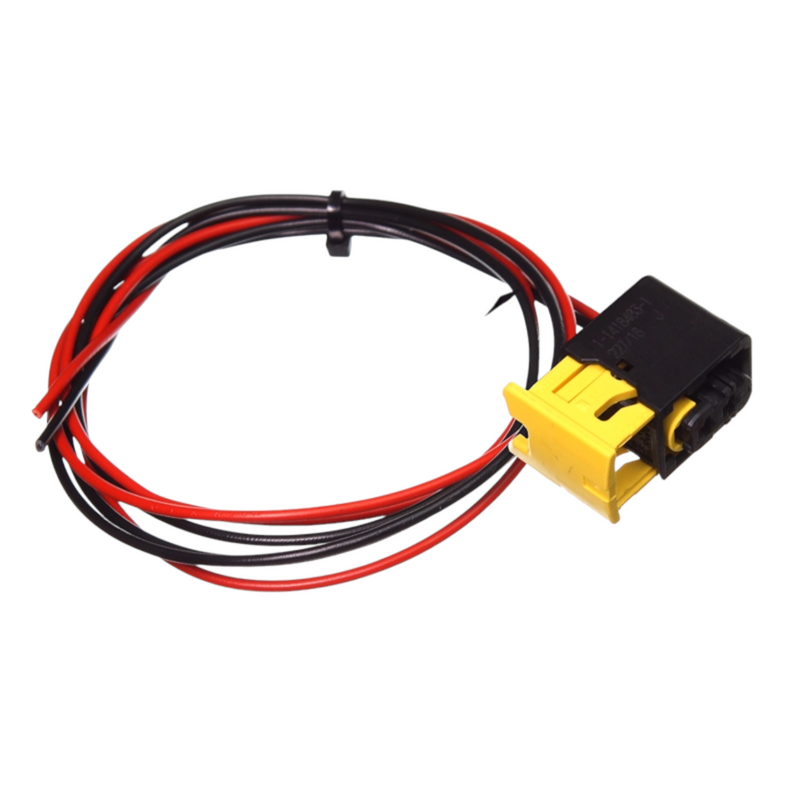
Each light plate has a 3 metre cable that should be connected to, for example, a position light or alternatively to a switch if you want to be able to turn the reflector light off. There is one positive and one negative wire.
Dual-colour – Xenon White & Amber or Warm White & Amber
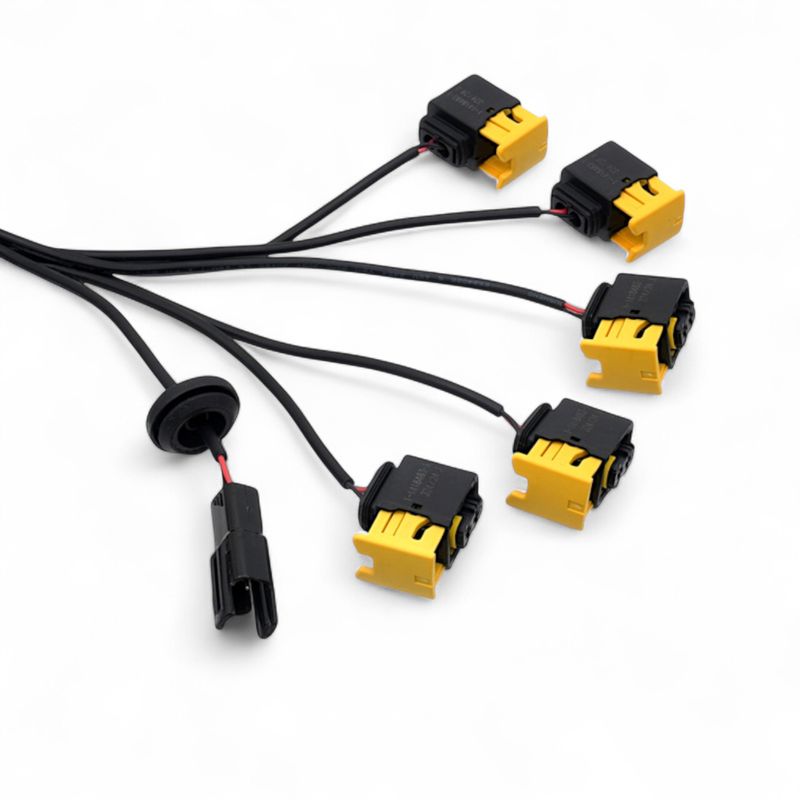
Each light plate has a 3 metre cable with one negative wire and two positive wires, one for each colour, allowing you to switch between them. Can be connected to, for example, a switch or a relay.
Strobe Light & Dual-colour – Xenon White & Amber with Strobe or Warm White & Amber with Strobe
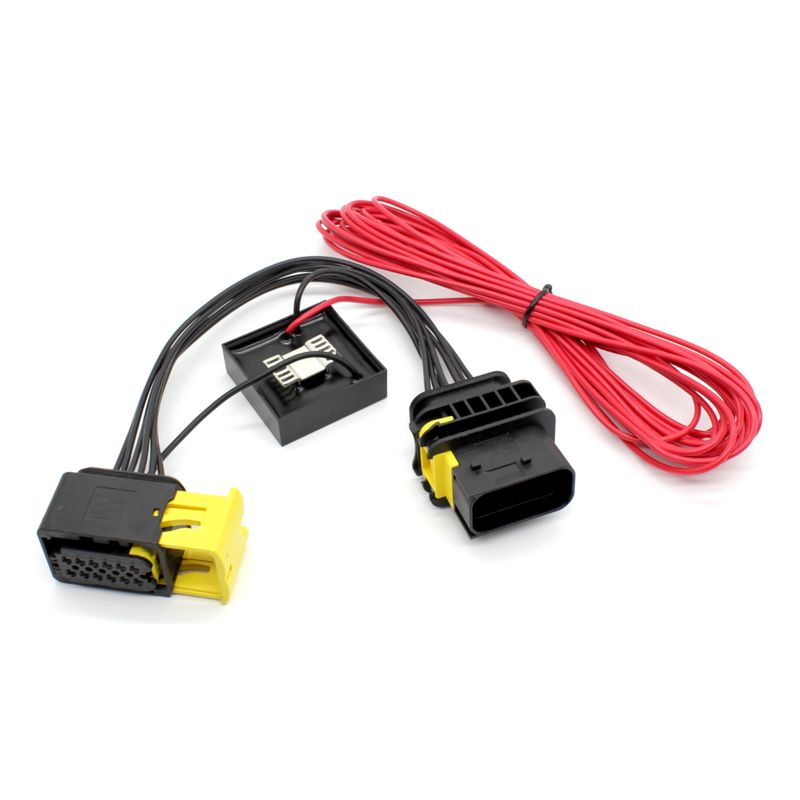
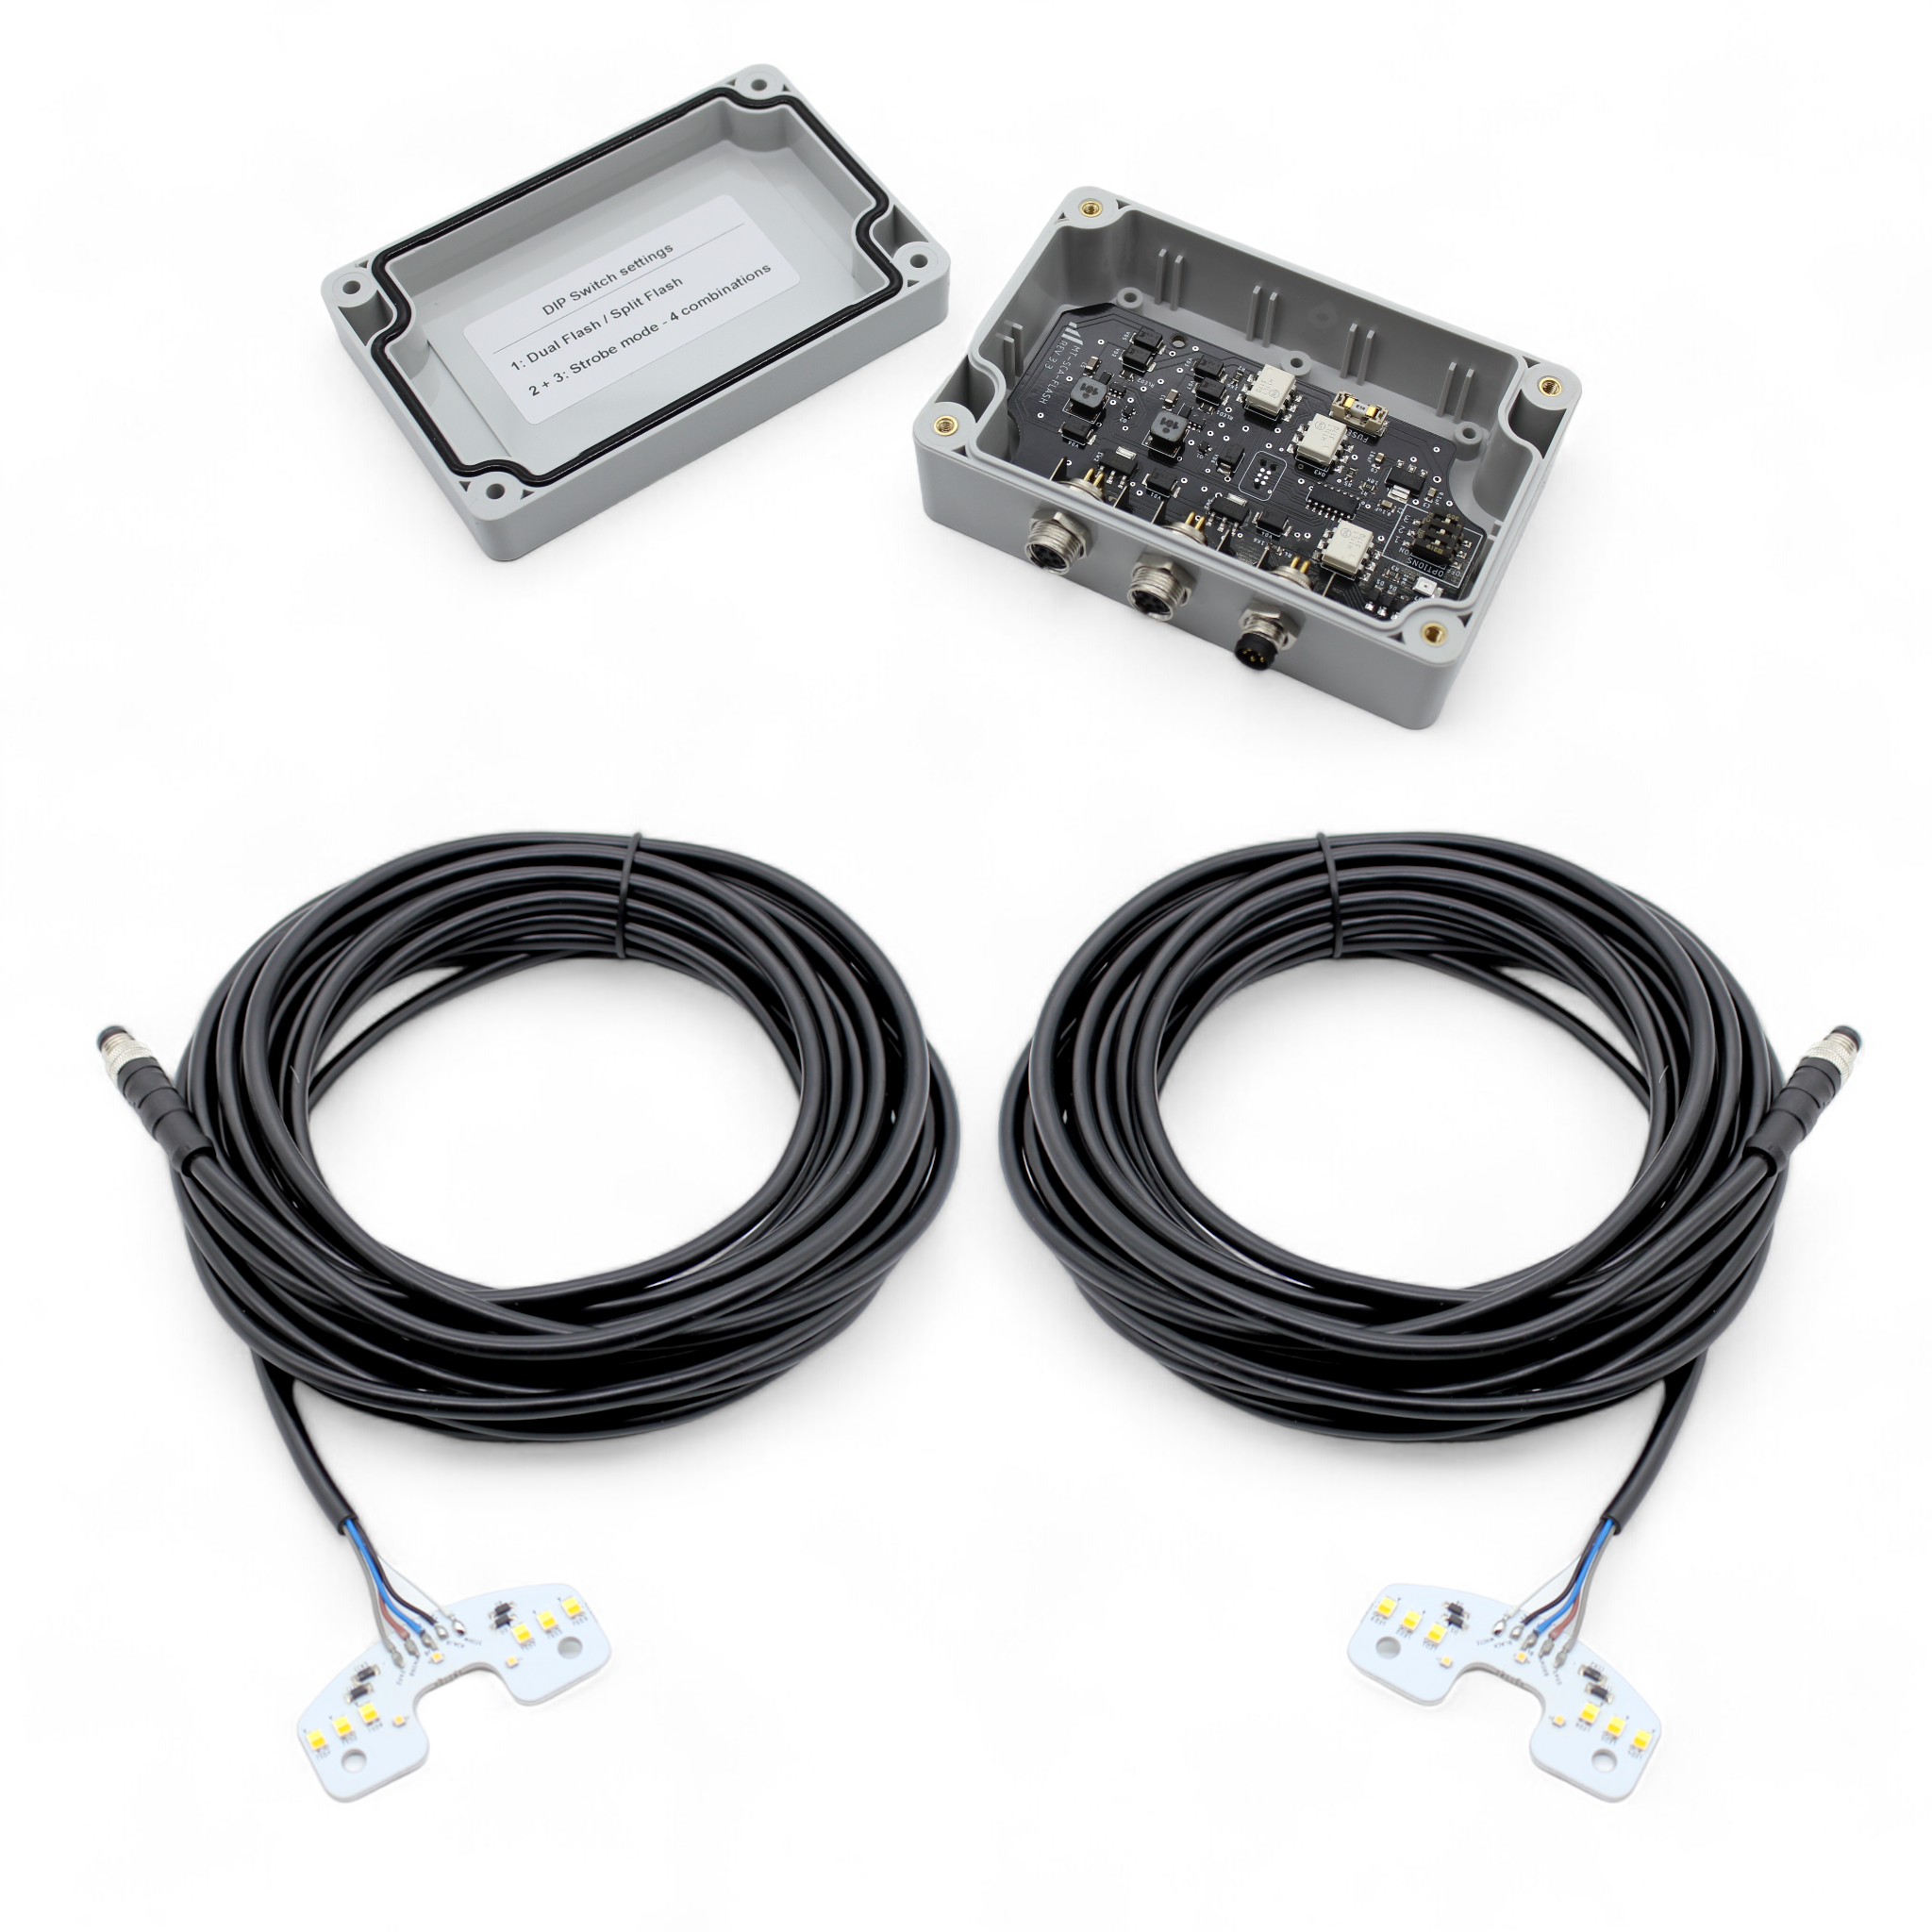
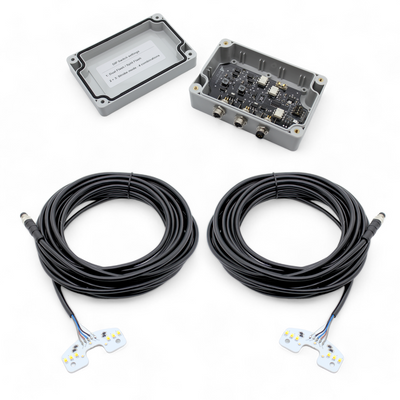
The light plate has a 6 metre cable with M8 connectors, which should be connected to the included control unit. The controller manages the two colours and automatically switches them off when you activate the flashing light. To control the unit, there is an outgoing cable with 4 wires:
Negative: Green wire
Positive for white position light: White wire
Positive for yellow position light: Yellow wire
Positive for flashing light: Brown wire
The controller has 4 different flash patterns, which can be changed inside the control box.
Installation:
The lamps must be opened for installation. One of the positive changes in the 2023 model of the high beams is that they are now very easy to unscrew – no more issues with glue.
Remove all screws from the heat sink on the top of the lamp. Remove the heat sink. Remove the screws from the original light plate. Install the new light plate on top of the original one using the included spacer and the 14 mm screws.
The cable must be routed out of the lamp. We prefer using one of the blue vents on the back. These are simply pulled off. You need to use a pull wire to do this, from the outside through the vent. It may be necessary to enlarge the hole first.
Once the cable is through the hole, we recommend applying glue around the cable and the vent, and placing heat shrink tubing over both.
Scania is a registered trademark, and the use of the name is for reference purposes only. This product is not an original part and is not manufactured or approved by Scania. The use of the trademark name is only to indicate that the part fits the truck.