


Reflector Light for Grille High Beam Scania NextGen 2016–2022
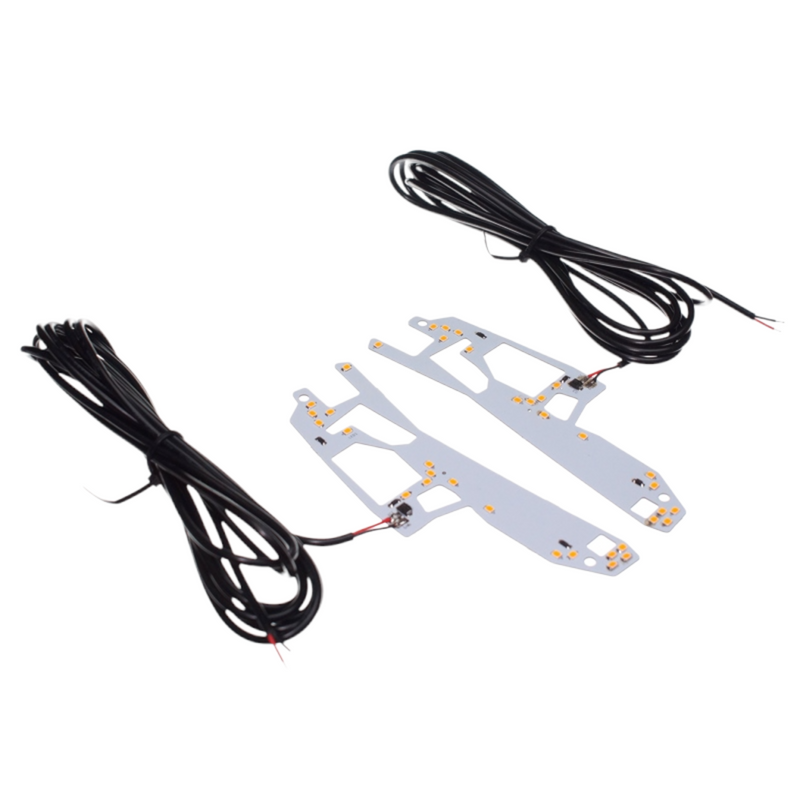
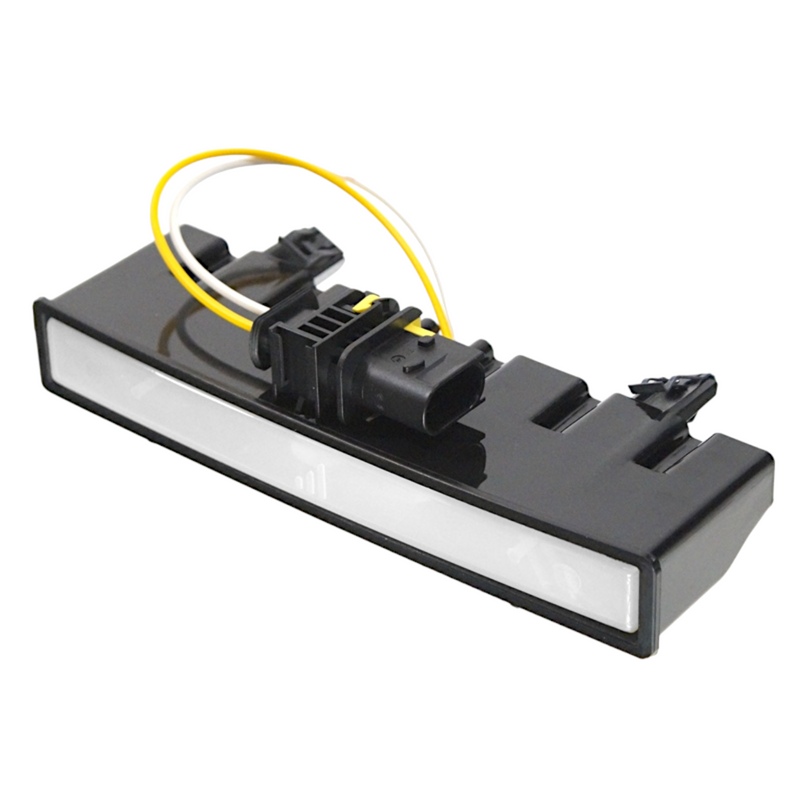
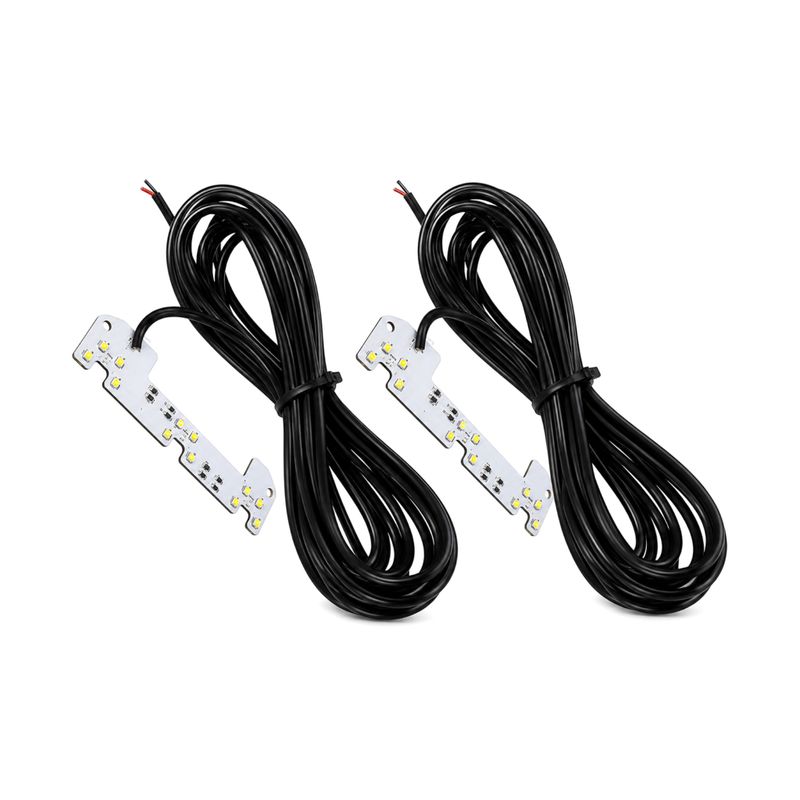
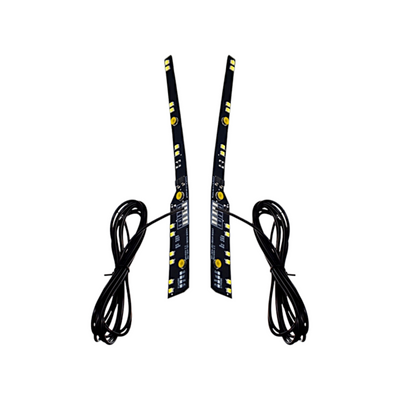
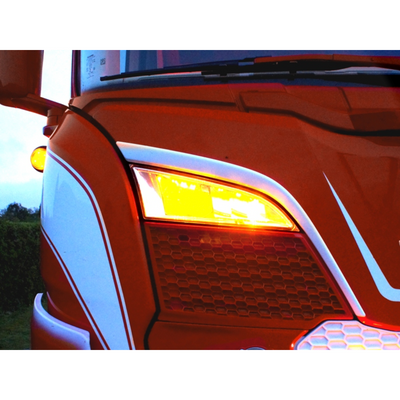
LED light plates designed to create a stylish light in the high beam reflector in the grille on Scania Next Generation model years 2016–2022. This kit includes 2 light plates, 1 for each side.
Available in 4 different colours and 3 different versions: single-colour, dual-colour, or dual-colour with strobe light.
Single-colour – Xenon White / Warm White / Amber / Yellow
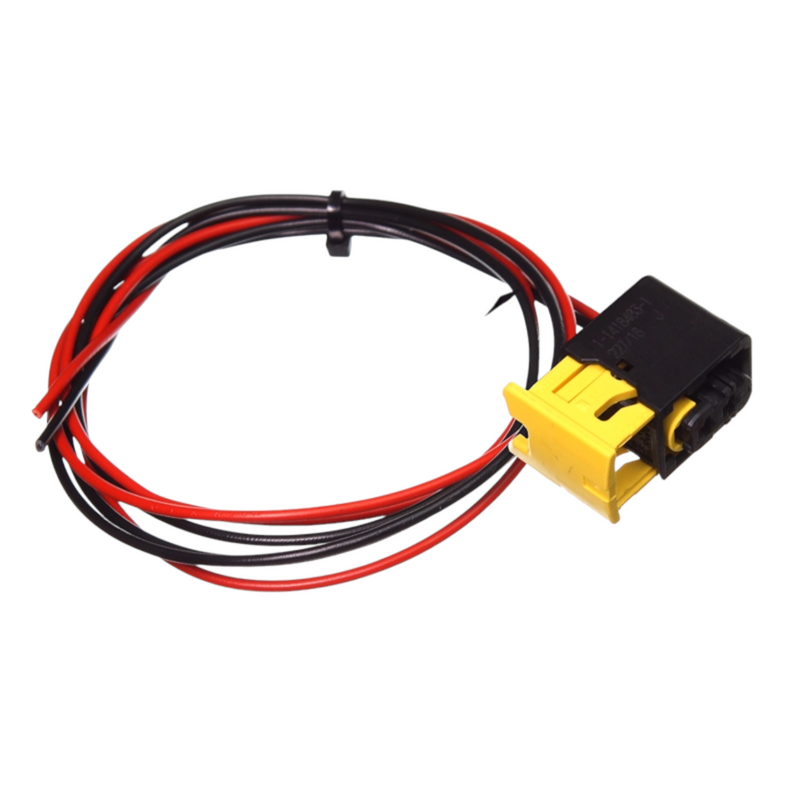
Each light plate has a 3 metre cable that should be connected to, for example, a position light or alternatively to a switch if you want to be able to turn the reflector light off. There is one positive and one negative wire.
Dual-colour – Xenon White & Amber or Warm White & Amber
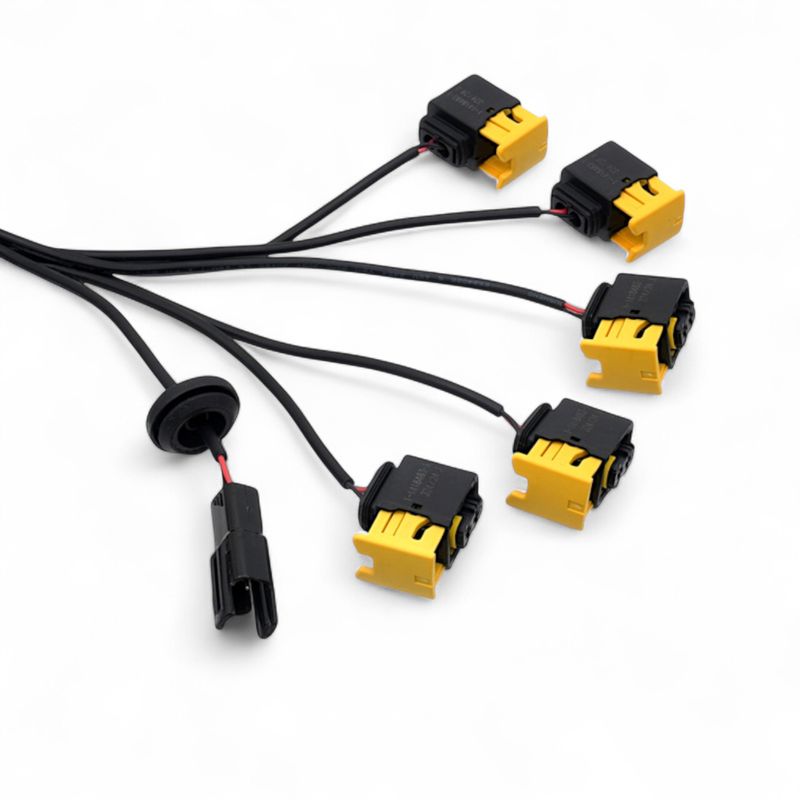
Each light plate has a 3 metre cable with one negative wire and two positive wires, one for each colour, allowing you to switch between them. Can be connected to, for example, a switch or a relay.
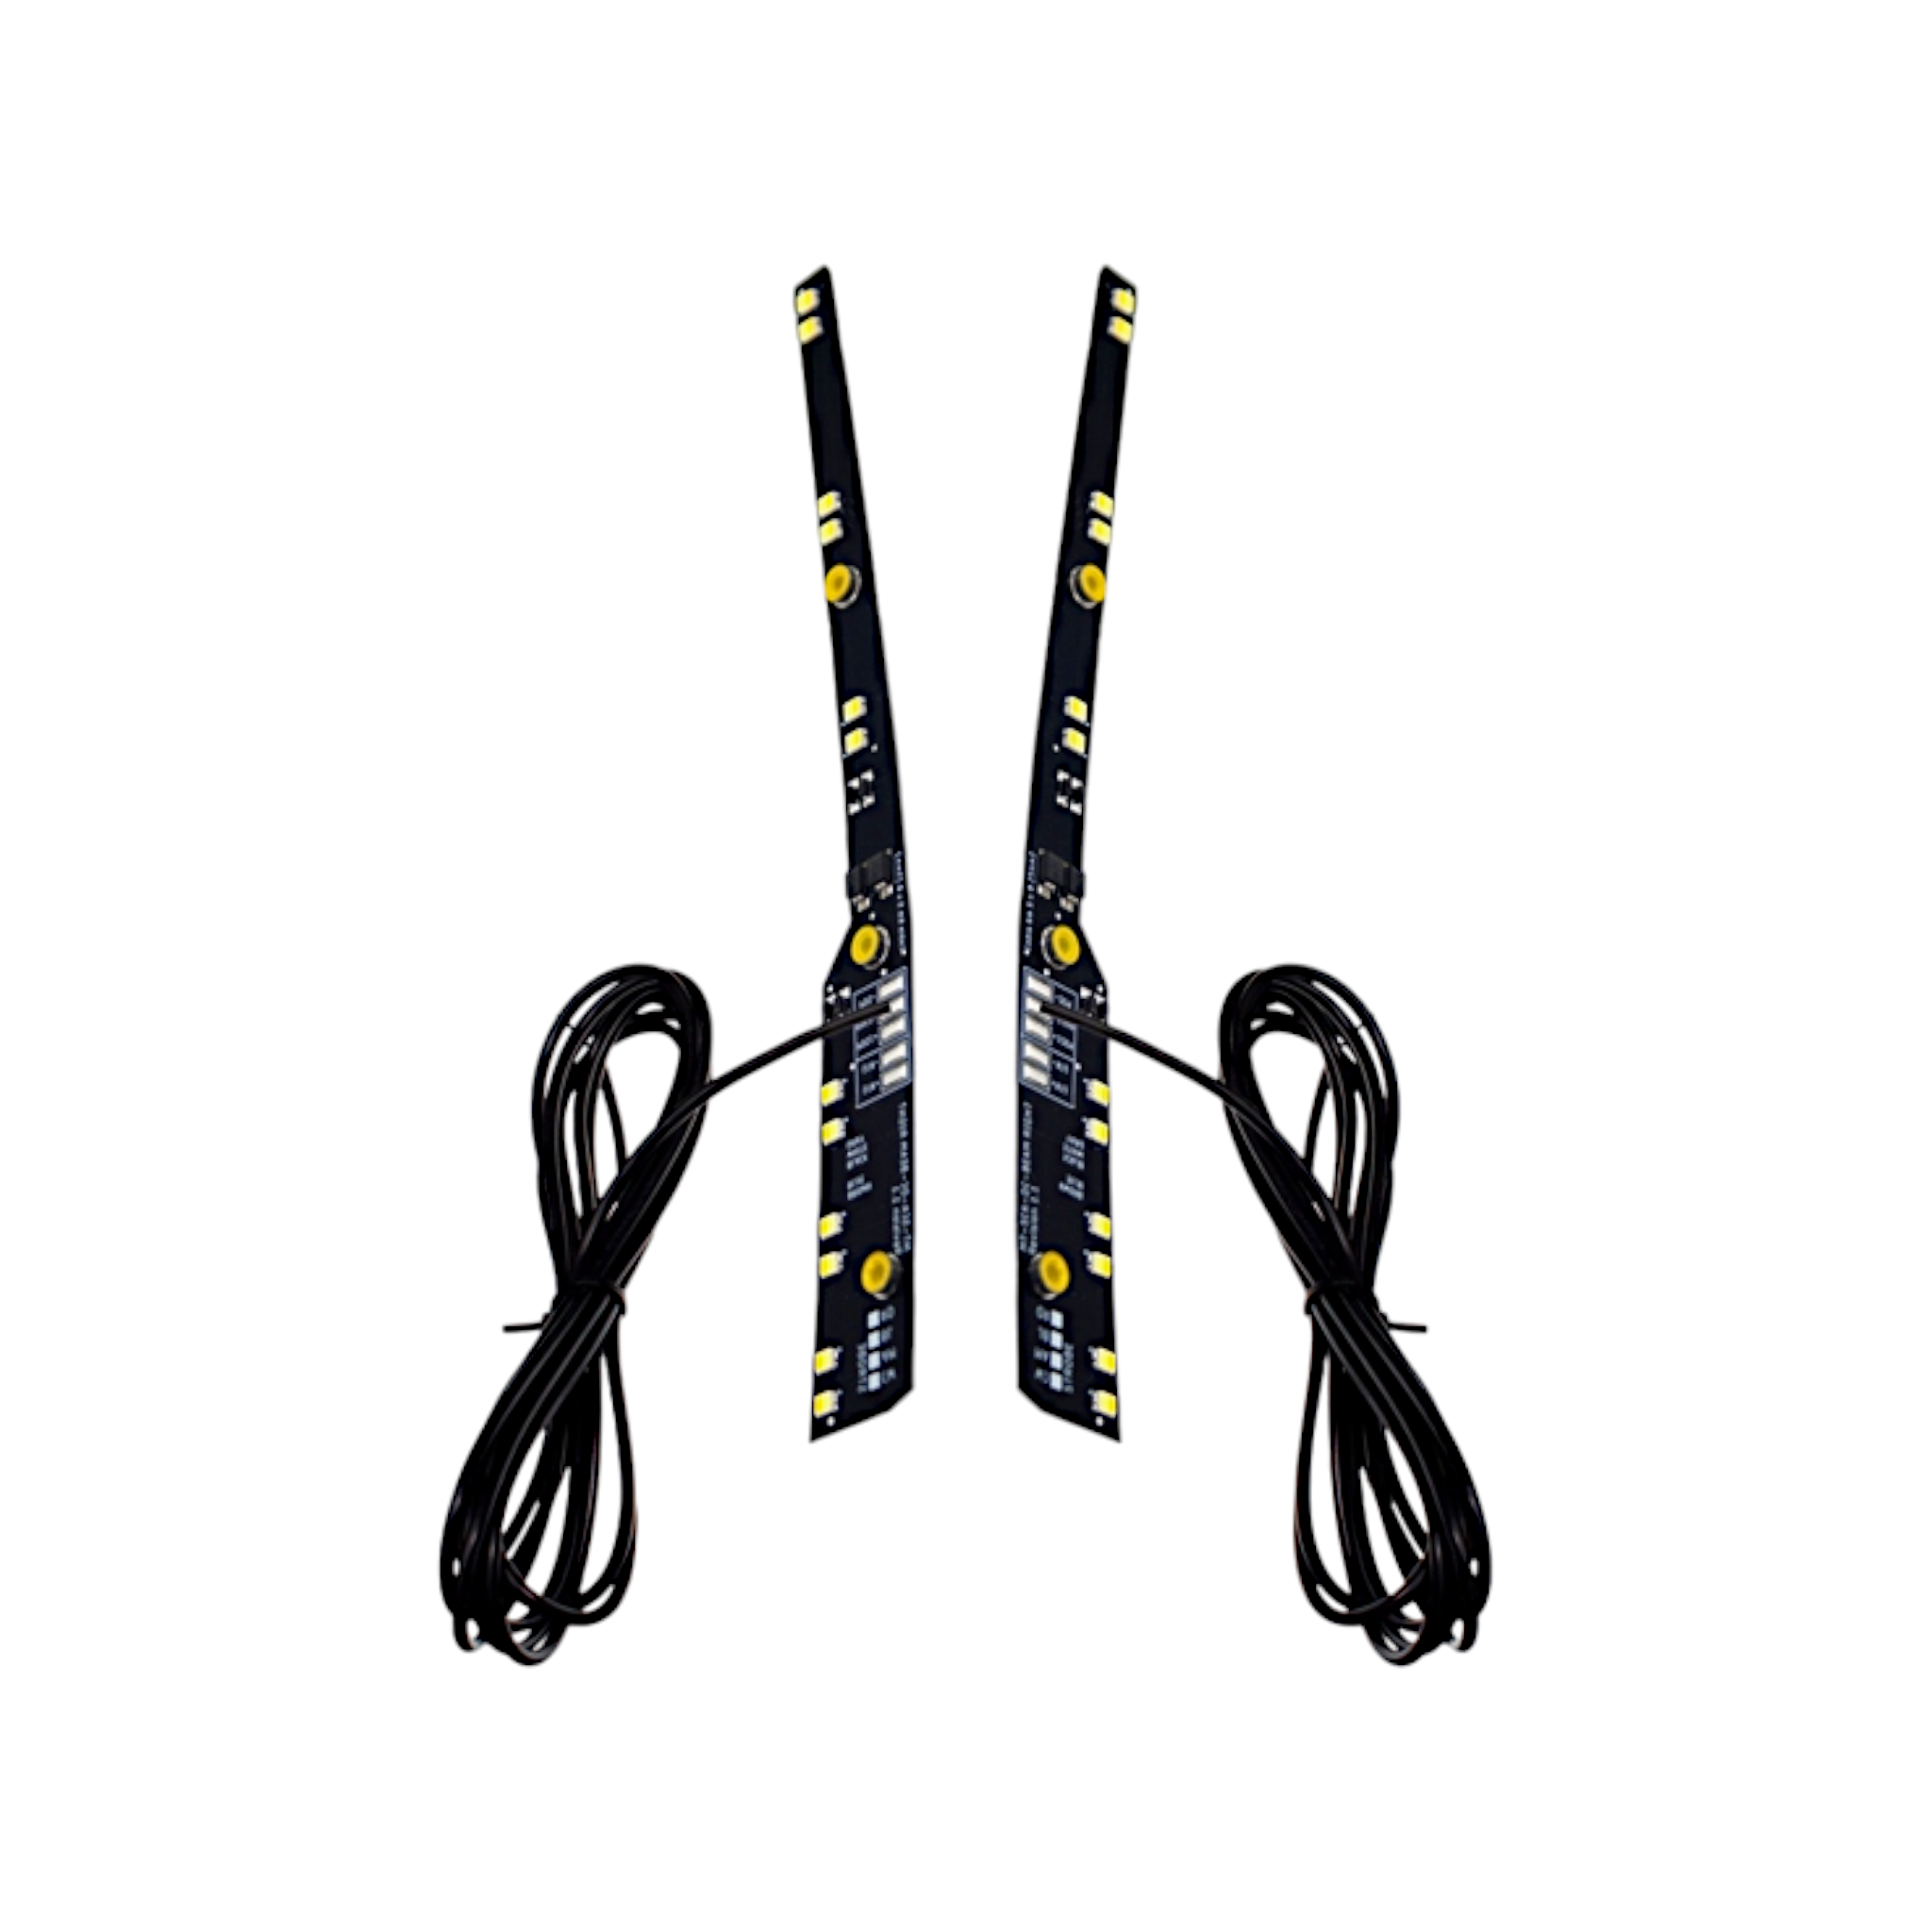
Strobe Light & Dual-colour – Xenon White & Amber with Strobe or Warm White & Amber with Strobe
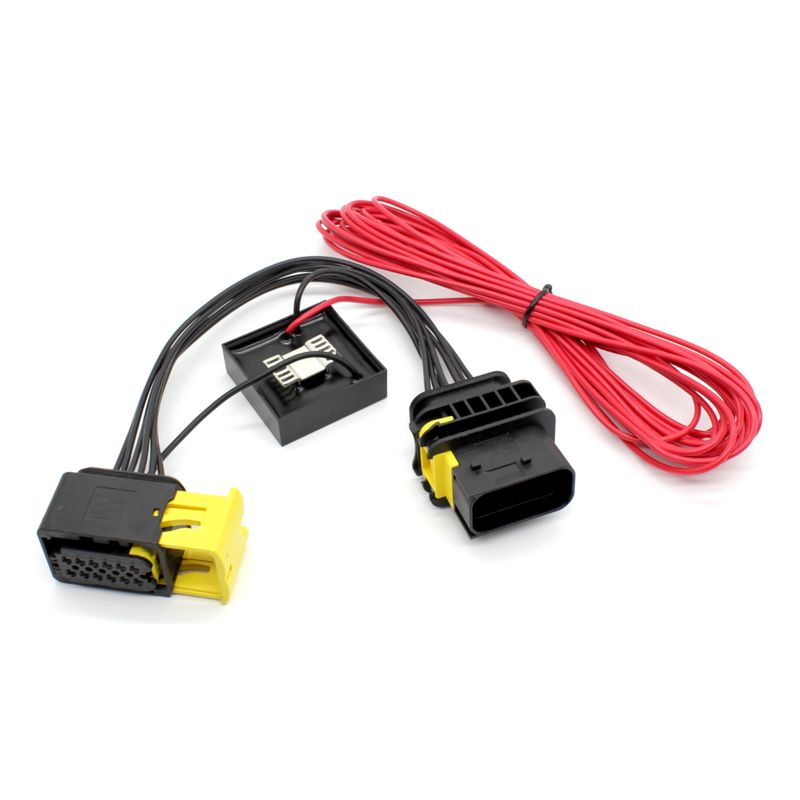
The light plate has a 6 metre cable with M8 connectors, which should be connected to the included control unit. The controller manages the two colours and automatically switches them off when you activate the flashing light.
To control the unit, there is an outgoing cable with 4 wires:
Negative: Green wire
Positive for white position light: White wire
Positive for yellow position light: Yellow wire
Positive for flashing light: Brown wire
Installation:
Removing the heat sink:
Remove the two screws in the heat sink. Remove the clips along the edge. It is very firmly glued to the lamp. Carefully cut along the edge of the heat sink (blue line). It is very important that the knife does not go too far into the lamp, as you risk cutting internal wires. Open the lamp using, for example, a flat screwdriver.
Mounting holes:
Use the included drill template, made of thin plastic, to drill 3 mounting holes of 3 mm. The template fits over the lamp, where there is a corresponding cut-out (green lines).
Install the light plate:
Be very careful when working with these LED light plates, as the LEDs are very fragile. The light plate is inserted through an opening in the lamp. If you have difficulty fitting it in, you can cut off the plastic piece marked with red lines.
Secure the light plate:
The light plate is fastened from the back of the lamp using the included screws.
Cable routing:
Avoid pulling on the wires on the light plate. We recommend drilling a hole in the back of the lamp to route the cable out. There is a square recess where you can drill a suitable hole. Once the cable is in place, you can fill this recess with glue.
Refitting the heat sink:
Reinstall the heat sinks using new glue along the edge of the lamp, in the same locations as the original glue. The heat sink is pressed down and screwed into place. If possible, also refit the clips.
Scania is a registered trademark, and the use of the name is for reference purposes only. This product is not an original part and is not manufactured or approved by Scania. The use of the trademark name is only to indicate that the part fits the truck.